
This post may contain affiliate links. As an Amazon Associate, I earn from qualifying purchases.
Learn how to freeze sweet corn off the cob with this easy step-by-step guide. Perfect for preserving summer flavor to enjoy it all year round!
Sweet corn is the vegetable my family requests the most, and it’s a favorite to grow in my garden. Although we enjoy eating it fresh during sweet corn season, I also try to plant enough to have the ability to enjoy it throughout the winter months.
Grocery store frozen or canned corn just does not compare!
If you are new to preserving food, freezing corn is an easy and beginner-friendly way to start. It’s a simple process that requires little to no experience.
If you already have your corn, check out the ingredients list below. I’m sure you have the ingredients needed to get this project done today, so let’s get started!
EQUIPMENT NEEDED
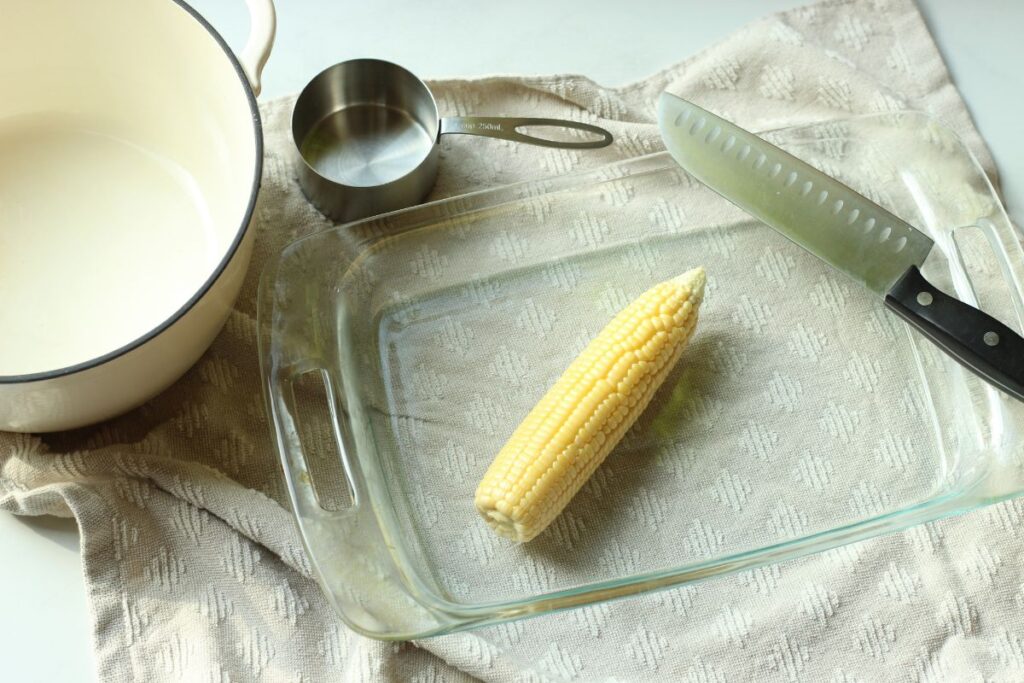
- Sharp knife
- Cutting board (or rimmed glass baking dish)
- Measuring cups & spoons
- Large stock pot or Dutch oven
- Stove
- Freezer safe bags
INGREDIENTS NEEDED FOR FREEZING SWEET CORN
- Fresh sweet corn (enough to make 10 cups of kernels cut off the cob)
- 2 cups water
- 1 tbsp. salt
Note: Usually takes about 10 – 12 large ears of corn to make 10 cups.
STEP-BY-STEP INSTRUCTIONS
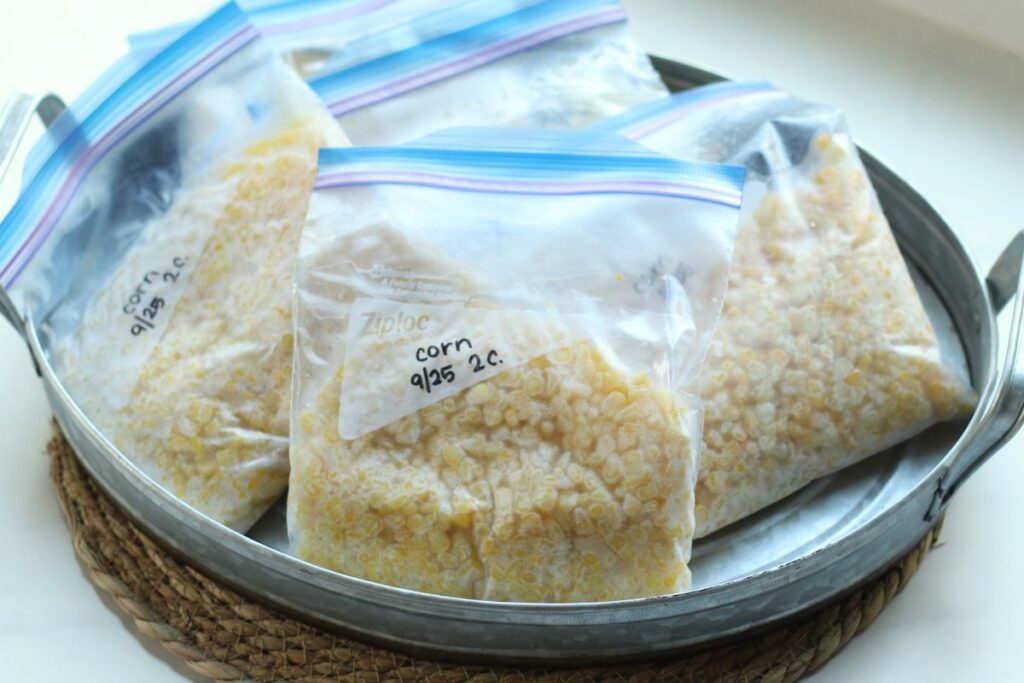
- Step 1: Prep your freezer bags by labeling them with contents, date, and amount of corn. (I like to put 2 cups per quart size bag.)
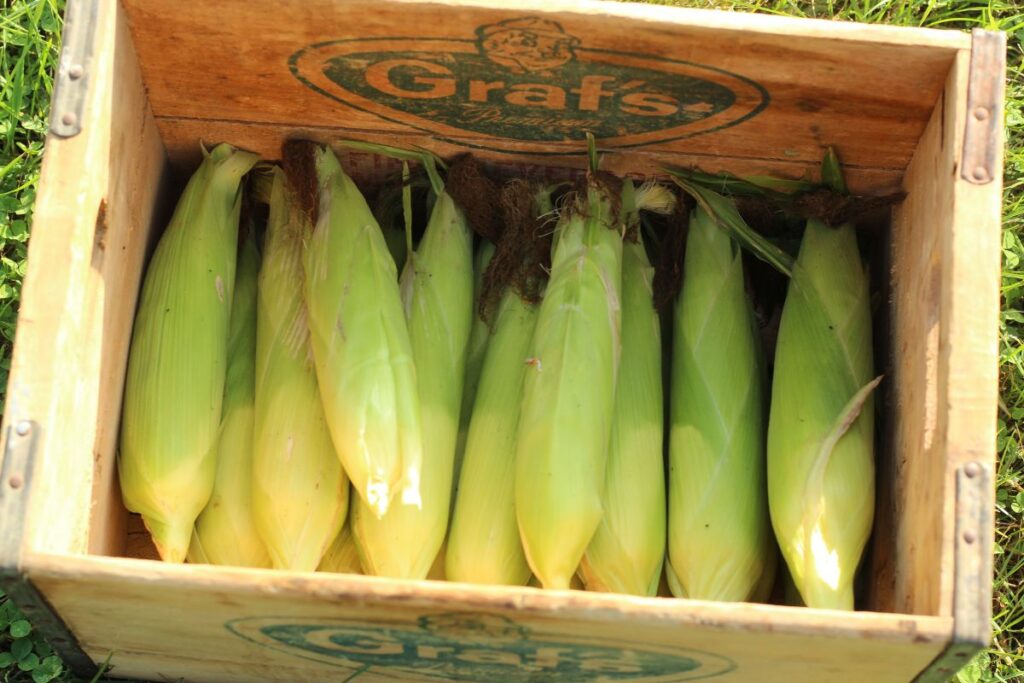
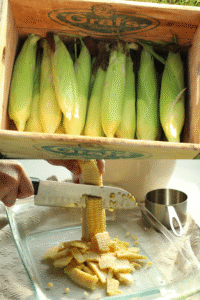
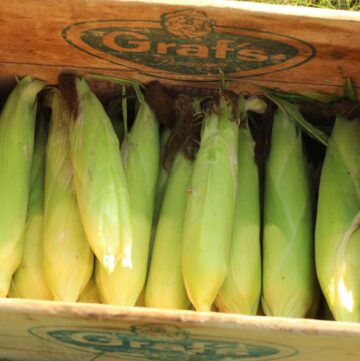
- Step 2: Shuck and clean the ears of corn. Inspect for any bad spots – remove if necessary.
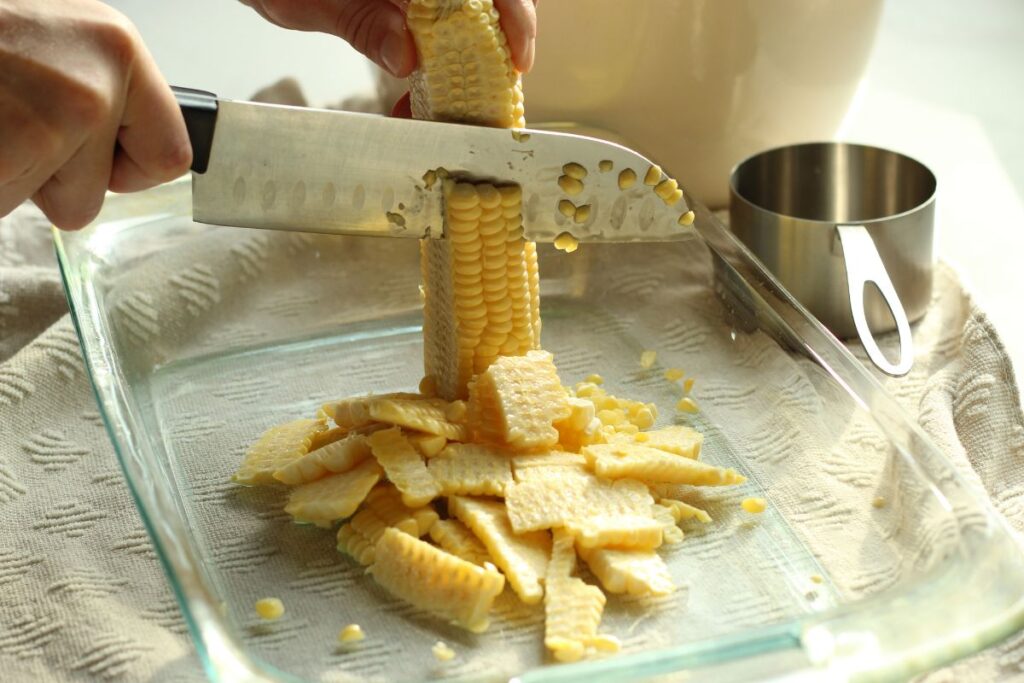
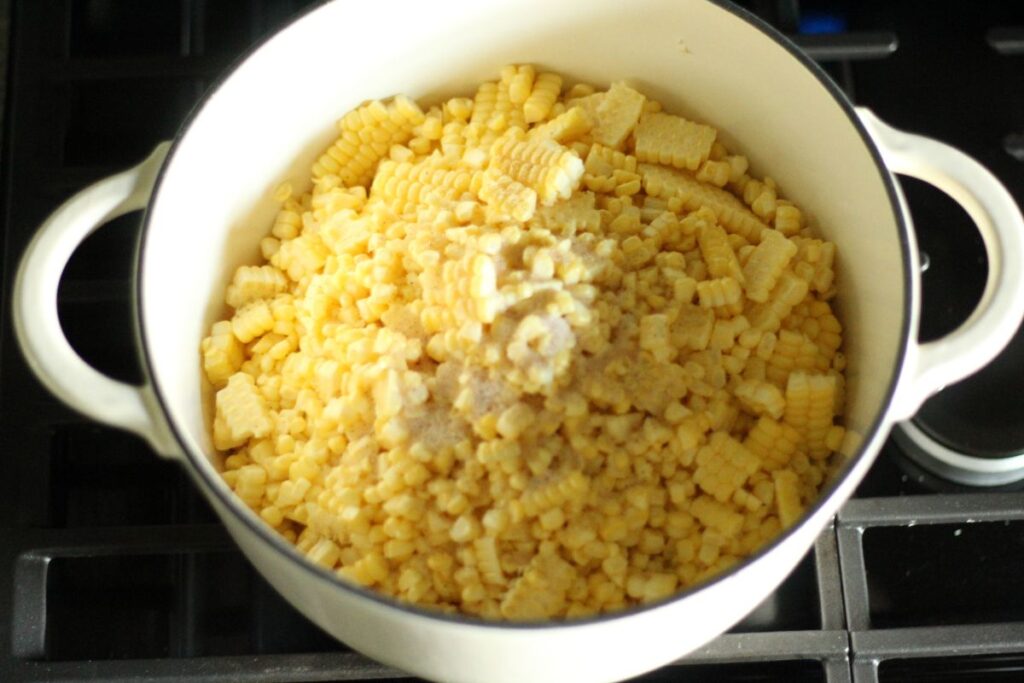
- Step 3: Cut kernels off the cob. Measure out 10 cups of raw corn kernels and place in large pot with water and salt.
- Step 4: Cook corn over medium heat until it comes to a rolling boil. Boil for 5 minutes, stirring frequently.
- Step 5: Remove pot from heat and let corn cool completely.
- Step 6: Portion and pack into freezer-safe bags. Wipe seal of bag to ensure it is completely clean. Remove as much air as possible and seal bag closed.
- Step 7: Flatten and freeze.
TIPS & TRICKS TO FREEZING SWEET CORN
The best way I’ve found to clean the silk (commonly called hairs) off of the corn is to rub damp paper towels across the corn cobs.
Using a large cutting board to cut kernels off the cob works, but in my opinion, it’s the worst part of the process since it can get so messy. I prefer using a rimmed baking dish to catch the kernels and keep them from rolling around everywhere.
To speed up the cooling process, place pot in an ice bath to cool kettle down quicker.
COMMON MISTAKES TO AVOID
Overfilling bags. When freezing sweet corn off the cob, resist the urge to overfill your freezer bags. While it might seem efficient to pack in as much as possible, cramming the kernels can prevent the bag from sealing properly, allowing air to sneak in and cause freezer burn. A snug but not stuffed bag ensures a tight seal, faster freezing, and better texture when thawed. For best results, lay the bags flat and press out any extra air before sealing.
Skip cooking the fresh corn. Skipping the cooking process when freezing sweet corn might seem like a shortcut, but it can cost you in taste, texture, and shelf life. Fresh cut corn is packed with natural enzymes that, if left active, continue to break down the sugars and nutrients—even in the freezer. A quick blanching halts this, locking in that peak-season sweetness and vibrant color.
Not labeling with date. Don’t skip this simple step. Dating your freezer corn bags is a small step that makes a big difference. Knowing exactly when you froze your sweet corn helps you rotate older batches first, avoid mystery meals, and keep your freezer organized. Most frozen corn stays fresh for up to 8–12 months, but without a clear date, it’s easy to lose track and risk flavor loss or freezer burn. Use a permanent marker to jot down the freeze date and portion size, then stack your bags flat for easy grab-and-go access. It’s one of those tiny habits that will keep your freezer organized and efficient.
WAYS TO USE FROZEN CORN
- heat up as a side dish
- add to homemade chili, vegetable soups, taco soup, tater tot casserole, or KFC style bowls
FAQ’S
How much corn should I freeze? It depends on your family size and how often you plan to use frozen sweet corn in your meals. For our family of four, freezing it in 2-cup portions works perfectly for a meal. Estimate how many bags you’ll need per month for the winter and spring seasons, and plan accordingly. I usually calculate 2-3 bags a month over 7 months, aiming to have about 20 bags of frozen corn ready for the winter.
What type of corn should I use? Home grown corn is best sourced from non-GMO seeds. If gardening is not an option for you, seek out a local farmer that sources organic, non-GMO corn or check out your local farmer’s market. Corn is one of those crops that is commonly genetically modified and also heavily sprayed with pesticides, so use caution when buying.
Can I vacuum seal the bags? I wouldn’t recommend vacuum sealing bags unless you’re using a chamber vacuum sealer or a special type of bag designed for sealing soups and liquids. Corn has a high moisture content, plus the added water, which can cause issues. A regular vacuum sealer will pull the water toward the seal, creating a mess and preventing the bag from sealing properly.
PIN IT FOR LATER!
With this step-by-step guide, you can learn how to freeze sweet corn off the cob and enjoy it all year round.
From preparing the corn to storing it for future use, we’ve covered everything you need to know in order to lock in that delicious summer flavor. As you sit down to enjoy a warm bowl of homemade chili in the dead of winter, you’ll be reminded of the joy and simplicity of the summer season.
So don’t wait any longer, grab some fresh corn and get started on this easy process today.
Blessings,

How to Freeze Sweet Corn off the Cob: A Step-by-Step Guide
Equipment
- Sharp knife
- Cutting board (or rimmed glass baking dish)
- Measuring cups & spoons
- Large stock pot or Dutch oven
- Freezer safe bags
- Stove
Ingredients
- Fresh sweet corn enough to make 10 cups of kernels cut off the cob
- 2 cups Water
- 1 tbsp. Salt
Instructions
- Prep your freezer bags by labeling them with contents, date, and amount of corn. (I like to put 2 cups per quart size bag.)
- Shuck and clean the ears of corn. Inspect for any bad spots – remove if necessary.
- Cut kernels off the cob. Measure out 10 cups of raw corn kernels and place in large pot with water and salt.
- Cook corn over medium heat until it comes to a rolling boil. Boil for 5 minutes, stirring frequently.
- Remove pot from heat and let corn cool completely.
- Portion and pack into freezer-safe bags. Wipe seal of bag to ensure it is completely clean. Remove as much air as possible and seal bag closed.
- Flatten and freeze.
Leave a Reply