
This post may contain affiliate links. As an Amazon Associate, I earn from qualifying purchases.
These mini pancake muffins bake up fluffy inside with lightly golden edges. They’re endlessly customizable, freezer‑friendly, and perfect for little hands or grab‑and‑go mornings.
WHY MINI PANCAKE MUFFINS ARE THE ULTIMATE EASY BREAKFAST
One of the biggest reasons mini pancake muffins have taken over breakfast blogs and social feeds is their versatility. They’re simple enough for busy mornings but cute and customizable enough for brunch gatherings.
They bake in a muffin tin, so you can make a whole batch at once – no flipping, no standing over a hot griddle, and no unevenly cooked pancakes.
They’re also freezer‑friendly. Make a batch on Sunday, freeze them, and reheat a few at a time for a warm, homemade breakfast in just a few minutes.
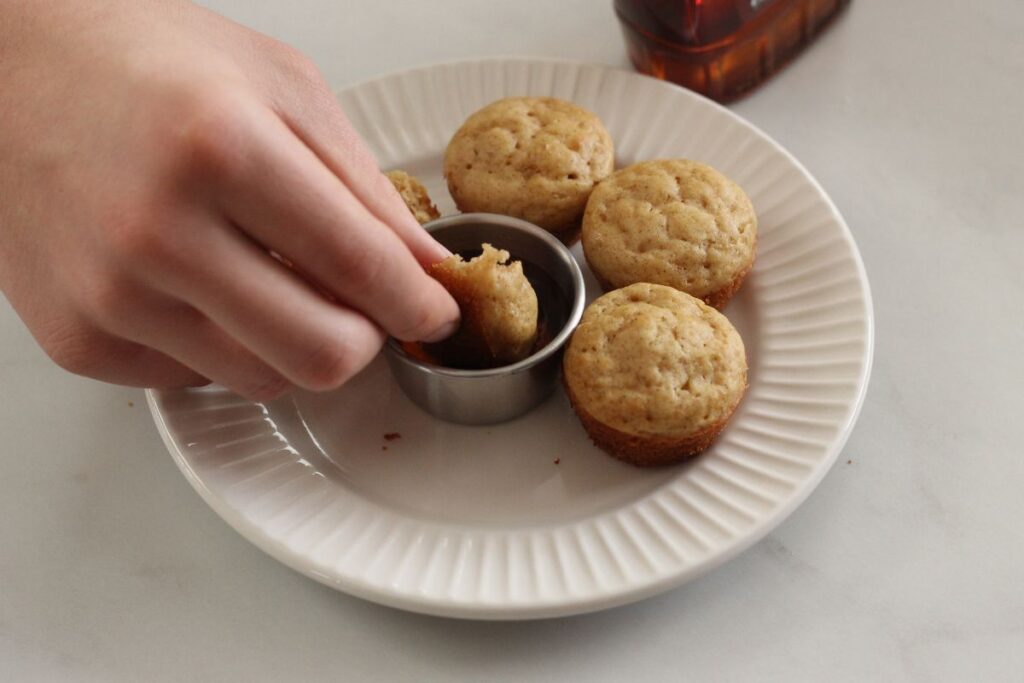
For parents, they’re a lifesaver: kid‑friendly, mess‑free, and easy to pack in lunchboxes. For adults, they’re a great way to portion breakfast without sacrificing flavor. (These little containers are the perfect size for holding maple syrup, making it easy to pack, pour, and enjoy with your mini pancake muffins).
WHAT INGREDIENTS DO I NEED:
This recipe makes 24 mini muffins.
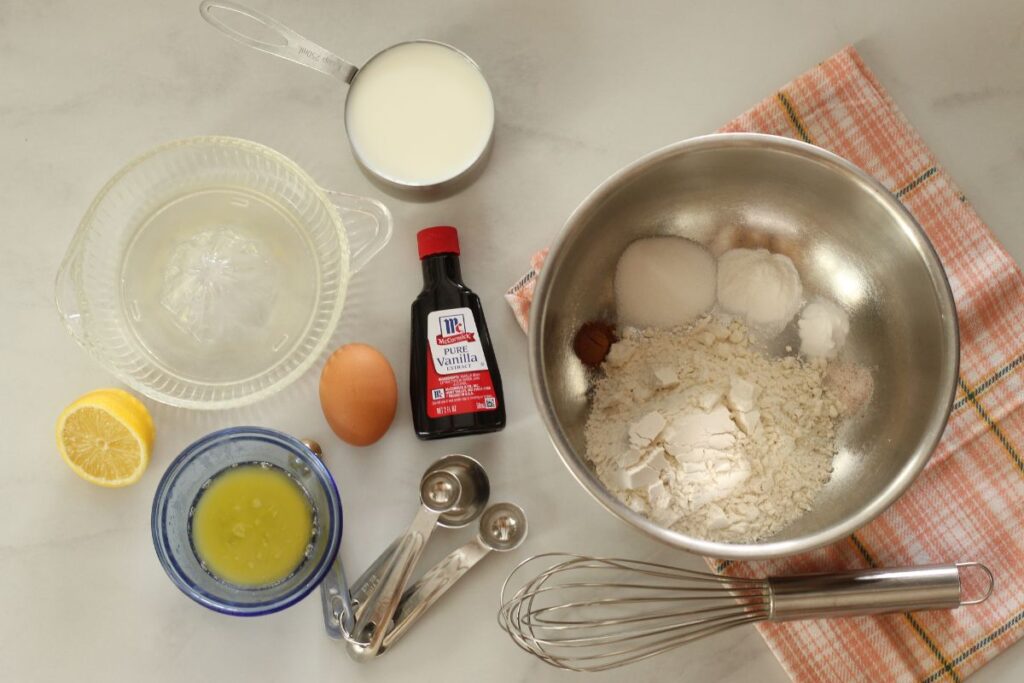
DRY INGREDIENTS
- 1 cup all‑purpose flour
- 1 tbsp sugar
- 1 tsp baking powder
- 1/2 tsp baking soda
- 1/4 tsp fine salt
WET INGREDIENTS
- 1 cup buttermilk (or milk + 1 tsp lemon juice)
- 1 large egg
- 2 tbsp melted butter or neutral oil
- 1 tsp vanilla extract
MIX-IN IDEAS (choose 2–3 or divide the pan for variety)
- Mini chocolate chips
- Blueberries (fresh or frozen)
- Diced strawberries
- Cinnamon‑sugar swirl (1 tbsp melted butter + 1 tbsp brown sugar + pinch cinnamon)
- Banana slices + a dot of peanut butter
- Sprinkles for a “birthday breakfast”
INSTRUCTIONS
- Preheat oven to 400°F and lightly grease a mini muffin tin.
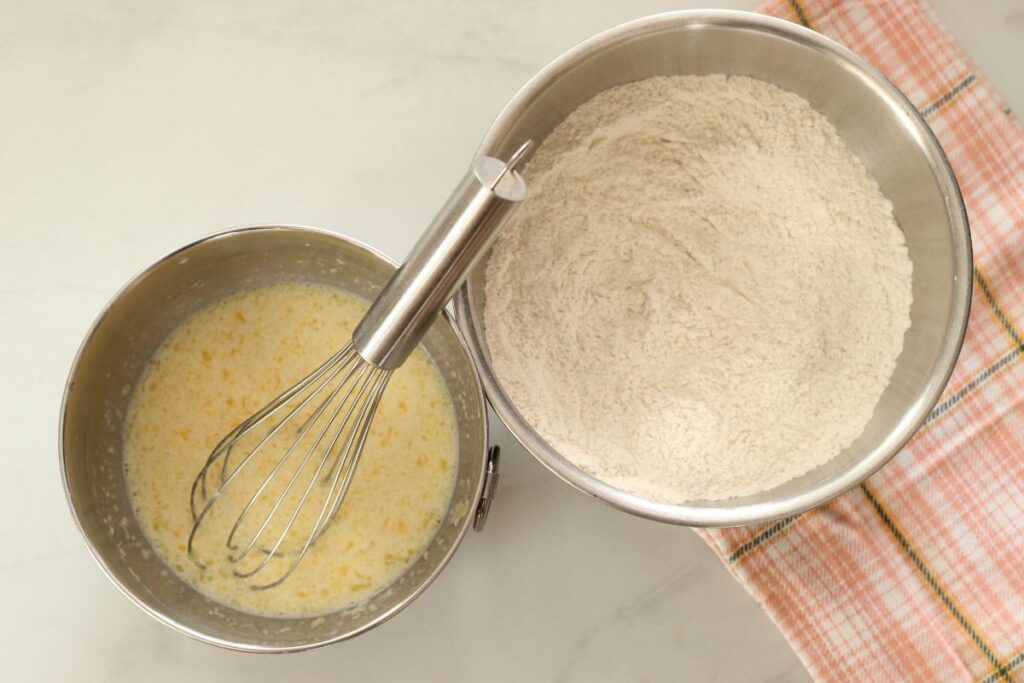
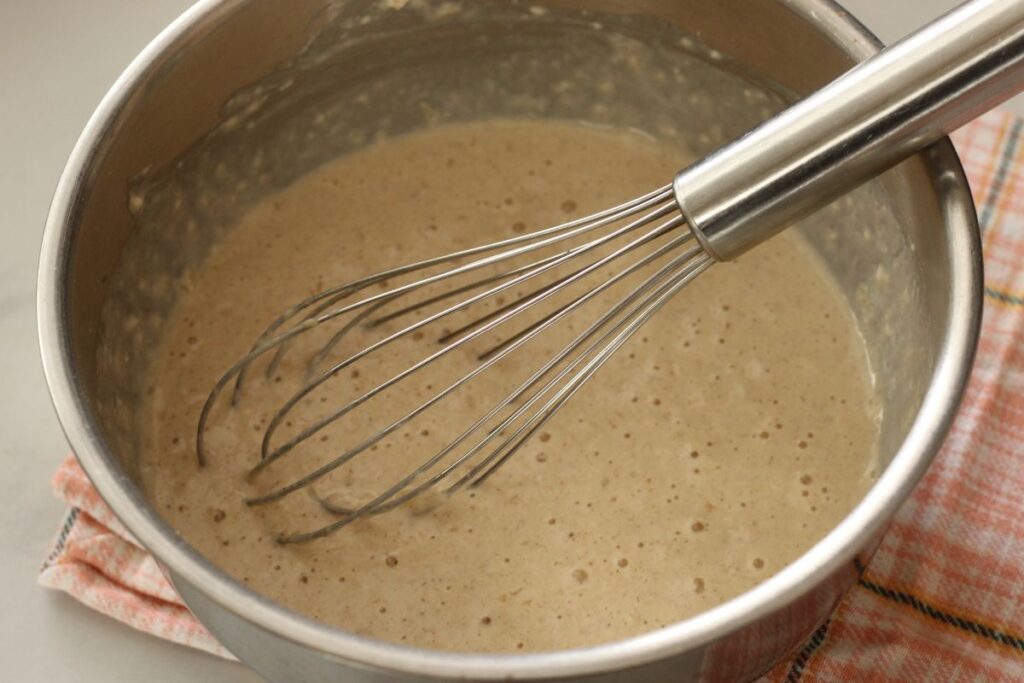
- Whisk flour, sugar, baking powder, baking soda, and salt in a bowl.
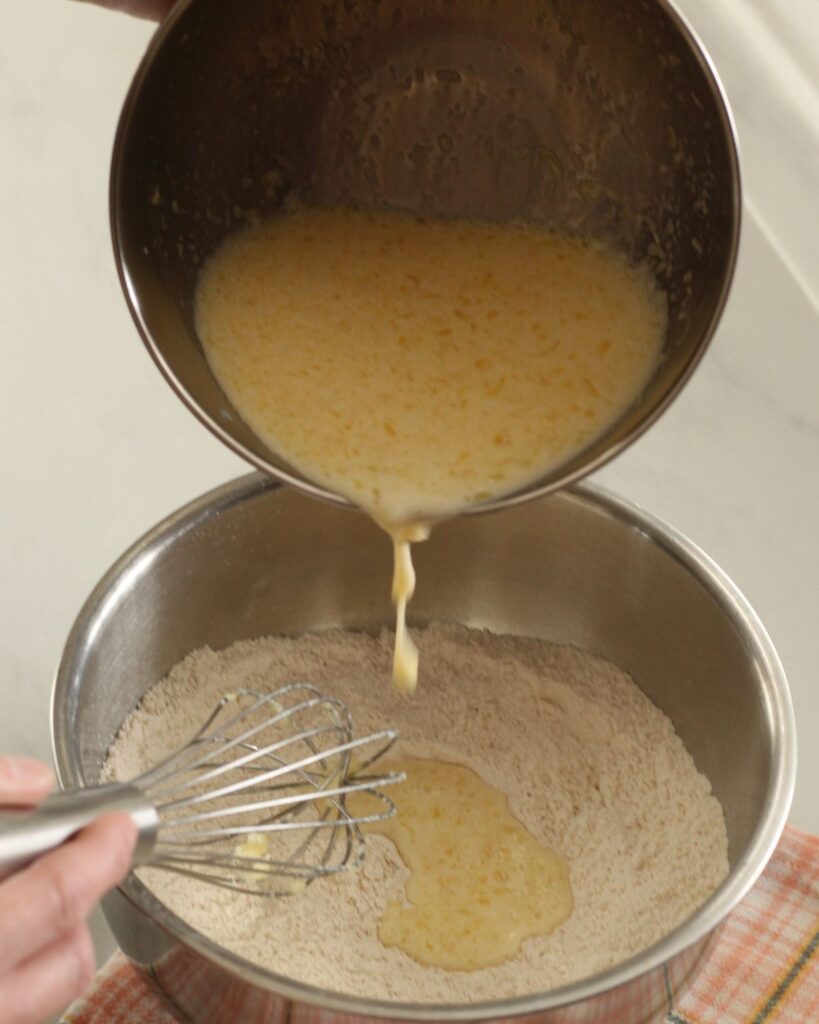
- In a separate bowl, mix buttermilk, egg, melted butter, and vanilla.
- Combine wet and dry ingredients, stirring just until the batter comes together. A few lumps are perfect.
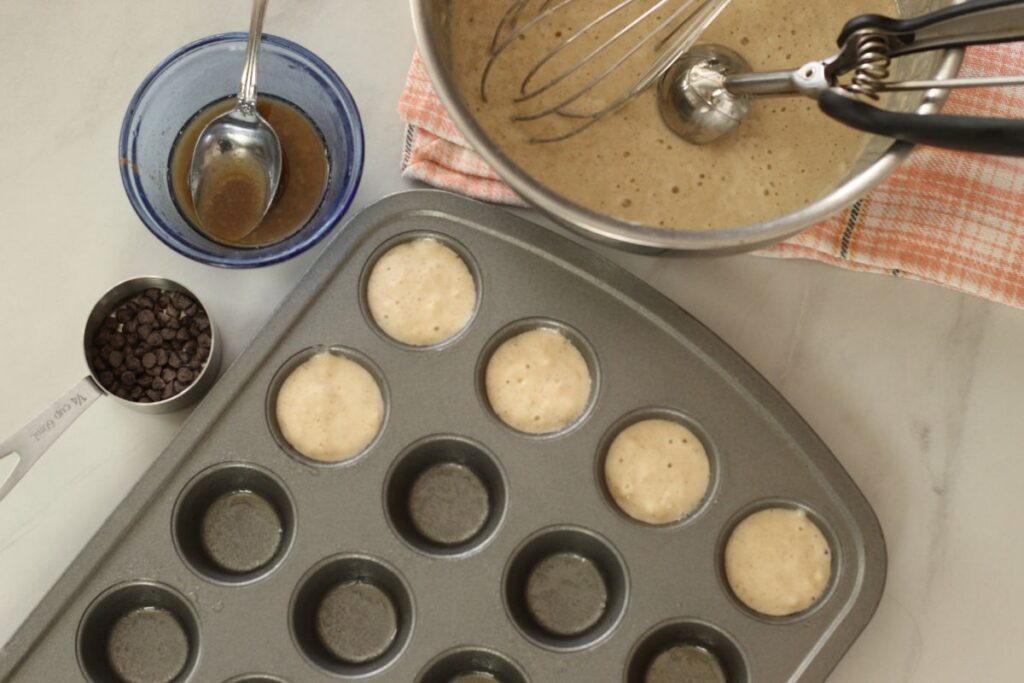
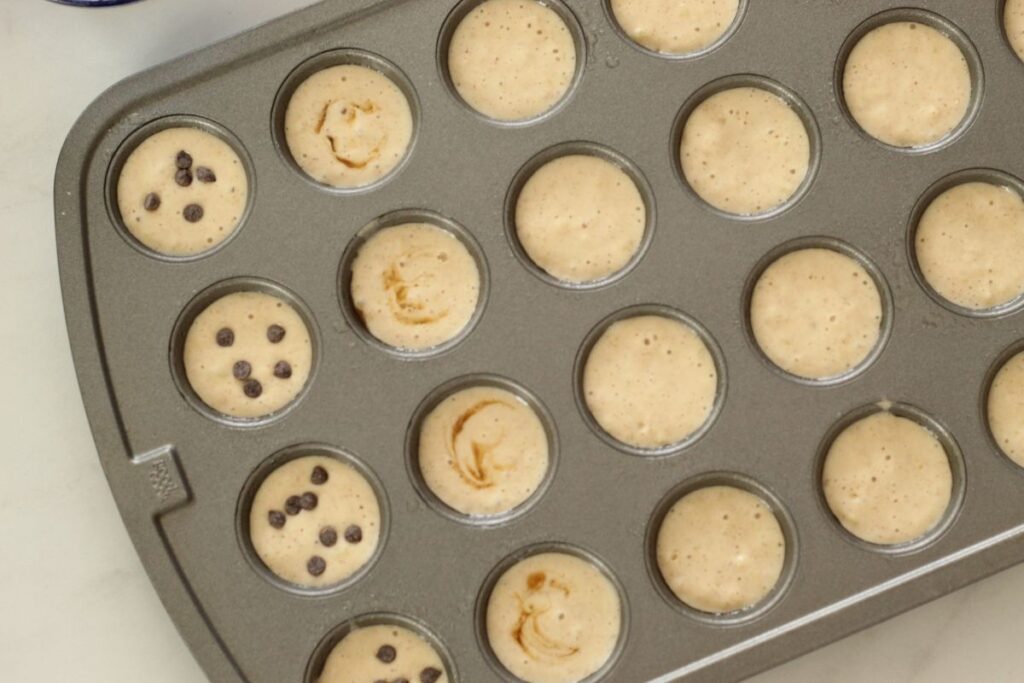
- Fill each mini muffin cavity about ¾ full.
- Add mix‑ins to each cup – go wild and make every row a different flavor.
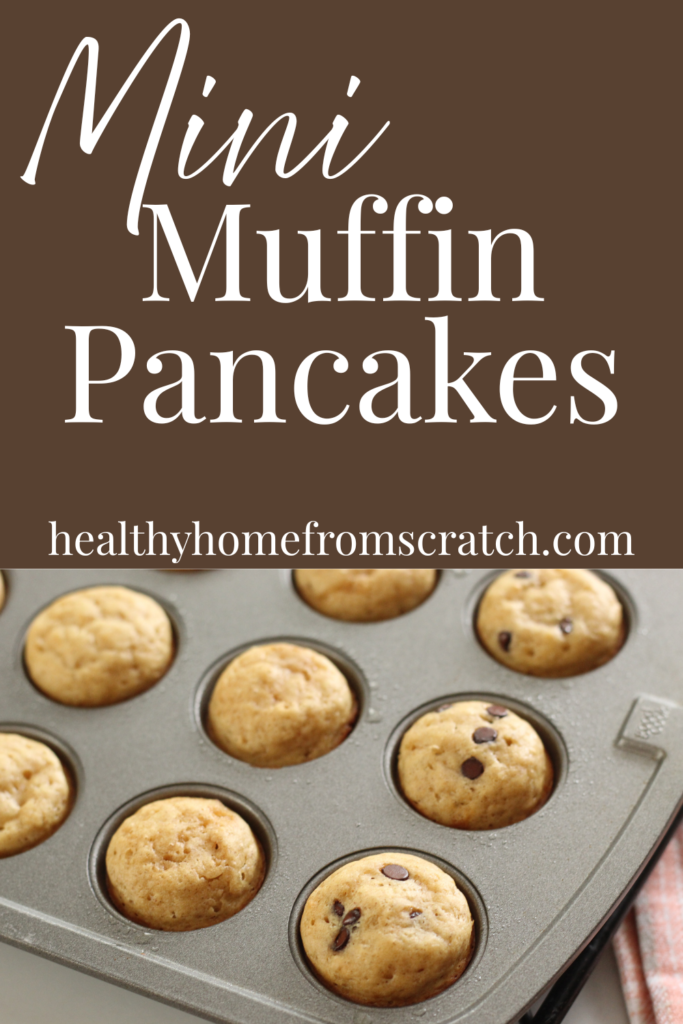
- Bake 8-10 minutes, until the tops spring back when touched and edges are lightly golden.
- Serve warm with maple syrup for dipping or drizzle a little on top before serving.

TIPS FOR PERFECT MINI MUFFINS EVERY TIME
Even though these muffins are so simple to make, a few small techniques can take them from good to irresistible:
- Don’t overmix the pancake batter. Just like with traditional pancakes, a few lumps are totally fine. Overmixing can make them dense.
- Grease the pan well. Even if you’re using a nonstick muffin tin, a light coating of oil or cooking spray ensures they pop out easily.
- Fill each cup about three-quarters full. This gives them room to rise without overflowing.
- Add toppings after pouring the batter. This keeps mix‑ins evenly distributed and prevents sinking.
- Let them cool slightly before removing. They firm up as they cool, making them easier to handle (about 10 minutes).
HOW TO SERVE MINI PANCAKE MUFFINS
These little muffins are delicious on their own but serving them with dipping sauces takes them to the next level. Warm maple syrup, honey butter, or even yogurt make great pairings. For brunch boards, arrange them with fresh fruit, whipped cream, and small bowls of toppings so everyone can customize their own.
If you’re packing them for school or work, they’re just as tasty at room temperature. Add a small container of syrup or jam for dipping, and you’ve got a breakfast or snack that feels special without any extra effort.
CAN YOU FREEZE PANCAKE MINI MUFFINS?
Yes! Freezing mini pancake muffins is a great way to keep a quick breakfast or snack ready for busy days.
Once the muffins have cooled completely, arrange them in a single layer on a baking sheet and place them in the freezer for about an hour. This quick freeze keeps them from sticking together later. After they’re firm, transfer the muffins to a freezer bag or airtight container, press out as much air as possible, and label with the date.
They’ll stay fresh for up to three months.
EASY WAYS TO REHEAT LEFTOVERS
Reheating your frozen mini pancake muffins is very simple. If you prefer a slightly crisp exterior, pop them in a 350°F oven or toaster oven for about 5 minutes. No need to thaw them first – just heat and enjoy.
I try to avoid using a microwave as much as possible, but for a quick grab‑and‑go option, place a few muffins on a microwave‑safe plate and warm them for 20–30 seconds until soft and heated through.
Mini pancake muffins are proof that breakfast doesn’t have to be complicated to be delicious. They’re quick, customizable, freezer‑friendly, and fun for all ages.
If you’re looking for more breakfast ideas, check out these recipes next!
Blessings,


Mini Pancake Muffins Recipe
Ingredients
DRY INGREDIENTS
- 1 cup all‑purpose flour
- 1 tbsp sugar
- 1 tsp baking powder
- 1/2 tsp baking soda
- 1/4 tsp fine salt
WET INGREDIENTS
- 1 cup buttermilk or milk + 1 tsp lemon juice
- 1 large egg
- 2 tbsp melted butter or neutral oil
- 1 tsp vanilla extract
MIX-IN IDEAS (choose 2–3 or divide the pan for variety)
- Mini chocolate chips
- Blueberries fresh or frozen
- Diced strawberries
- Cinnamon‑sugar swirl 1 tbsp melted butter + 1 tbsp brown sugar + pinch cinnamon
- Banana slices + a dot of peanut butter
- Sprinkles for a “birthday breakfast”
Instructions
- Preheat oven to 400°F and lightly grease a mini muffin tin.
- Whisk flour, sugar, baking powder, baking soda, and salt in a bowl.
- In a separate bowl, mix buttermilk, egg, melted butter, and vanilla.
- Combine wet and dry ingredients, stirring just until the batter comes together. A few lumps are perfect.
- Fill each mini muffin cavity about ¾ full.
- Add mix‑ins to each cup — go wild and make every row a different flavor.
- Bake 8-10 minutes, until the tops spring back when touched and edges are lightly golden.
- Serve warm with maple syrup for dipping or drizzle a little on top before serving.
Leave a Reply